Best ND Filters for Timelapse: Strength Guide & Picks
Dipon | March 2026
Table of Contents
- Intro
- Quick Answer
- Why ND filters are non-negotiable for timelapse
- ND filter strengths explained – which stop count does what
- Fixed ND vs variable ND: which should you buy?
- The best ND filters for timelapse – specific picks
- How to apply the 180° shutter rule with your ND filter
- Common ND filter mistakes in timelapse
- Read next on Aero Timelapse
- FAQ
- Conclusion
Affiliate Disclosure
This guide contains affiliate links. Purchases made through these links support Aero Timelapse Studio at no additional cost to you. I only recommend products I personally use or carefully research. As an Amazon Associate I earn from qualifying purchases.
Your timelapse footage looks sharp — but somehow lifeless. The clouds look frozen. The water looks like ice. The motion just isn’t there. That’s an ND filter problem.
Without the right neutral density filter, you can’t apply the 180-degree shutter rule, and without that rule, your timelapse will always look clinical and choppy no matter how good your interval is. I’ve shot fog timelapses over the Aach Spring, golden-hour sequences above Hohenzollern Castle, and full-day construction site recordings in Ulm — in every single case, an ND filter was on the lens. This guide tells you exactly which strength to use, when to use it, and what to buy.
Quick Answer: Best ND Filters for Timelapse
The best ND filters for timelapse are variable ND filters in the ND8–ND64 range (3–6 stops) for most daytime shooting, and ND64–ND1000 (6–10 stops) for bright midday conditions or ultra-long exposures. Variable NDs let you dial in the 180-degree shutter rule (shutter speed = 2× your interval) without swapping filters as light changes. For a versatile single-filter solution, the PolarPro Vario VND 2–5 Stop covers most timelapse scenarios from overcast morning to bright afternoon. Fixed NDs are sharper and introduce no cross-polarisation artefacts, but require carrying multiple filters. If you’re just starting out, buy one quality variable ND and you’re set.
Why ND Filters Are Non-Negotiable for Timelapse
Without an ND filter, your camera exposes each timelapse frame at 1/1000s or faster in daylight. That’s technically correct — but it kills motion blur.
The 180-degree shutter rule says your shutter speed should equal roughly twice your interval. Shooting at a 2-second interval? Your shutter should be around 1s. At a 5-second interval? Try 1/2s–1/3s. That motion blur between frames is what makes clouds look like they’re flowing rather than jumping.
In bright daylight, getting to those long shutters without massively overexposing means you need to cut 6–10 stops of light. That’s what ND filters do.
💡 Pro Tip: Use the free ND Filter Calculator at aerotimelapse.com to instantly find the right ND strength for your interval, aperture, and ISO. No mental maths on location.
ND Filter Strengths Explained — Which Stop Count Does What
Every ND filter is rated in stops or as an ND number. Here’s what matters for timelapse:
| Filter Strength | ND Number | Light Reduction | Best Timelapse Use Case | Recommendation | Price |
|---|---|---|---|---|---|
| 3 stops | ND8 | 8× | Overcast, golden hour, shade | NiSi HUC IR Slim ND8 | Check Latest Price |
| 6 stops | ND64 | 64× | Bright overcast, early morning | Breakthrough Photography X4 ND64 | Check Latest Price |
| 10 stops | ND1000 | 1000× | Full midday sun, ultra-long exposures | PolarPro QuartzLine ND1000 | Check Latest Price |
| 2–5 stops variable | ND4–ND32 | Variable | Changing light, travel, general use | PolarPro Vario VND 2/5 Stops Edition II — Peter McKinnon | Check Latest Price |
| 6–9 stops variable | ND64–ND512 | Variable | Midday shoots, dramatic long exposures | PolarPro Vario VND 6/9 Stops Mist Edition II — Peter McKinnon | Check Latest Price |
For most hobbyist timelapse work — sunrise, cloud motion, urban scenes — a 3–6 stop range covers 80% of situations.
For harsh midday sun in southern Europe (think Dolomites at noon or Lake Como in July), you’ll reach for ND64–ND1000.
Fixed ND vs Variable ND: Which Should You Buy?
This is the real decision. Both work. Here’s the honest trade-off:
Fixed ND filters offer maximum optical quality, zero colour cast, and no vignetting. The downside: you need one filter per stop range, and swapping on location as light changes is slow and exposes your sensor to dust.
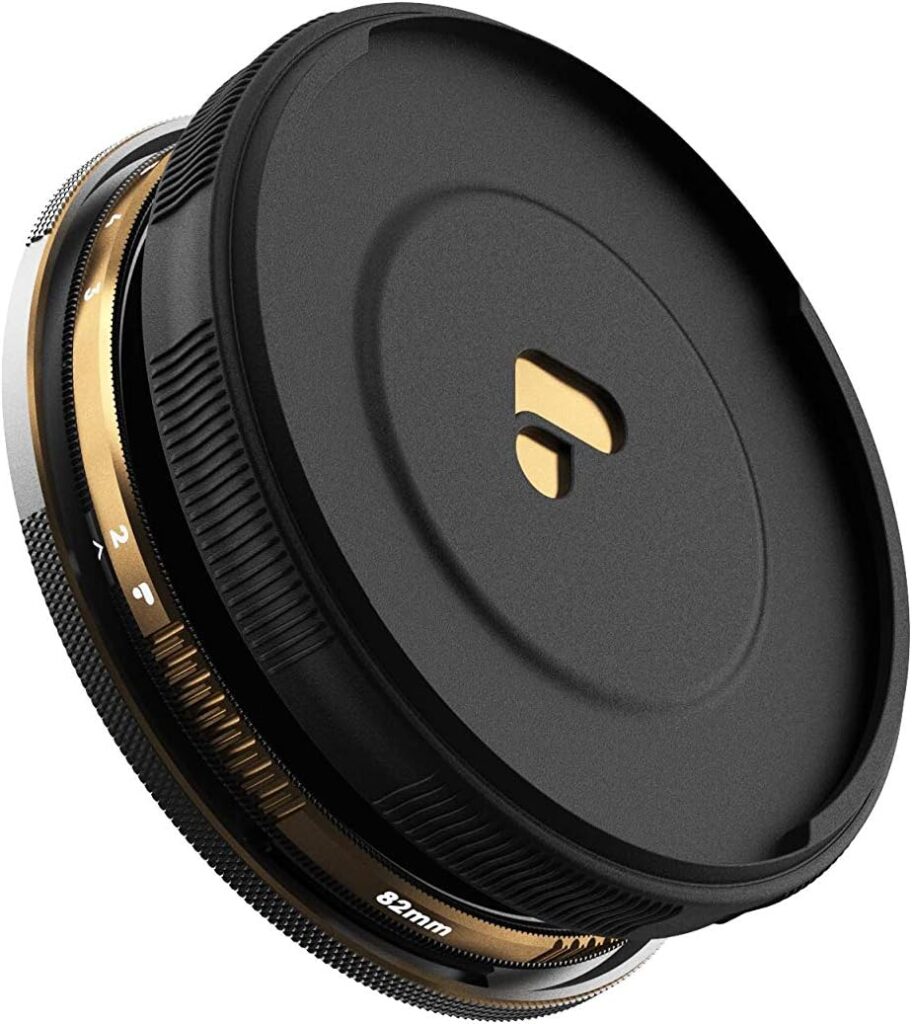
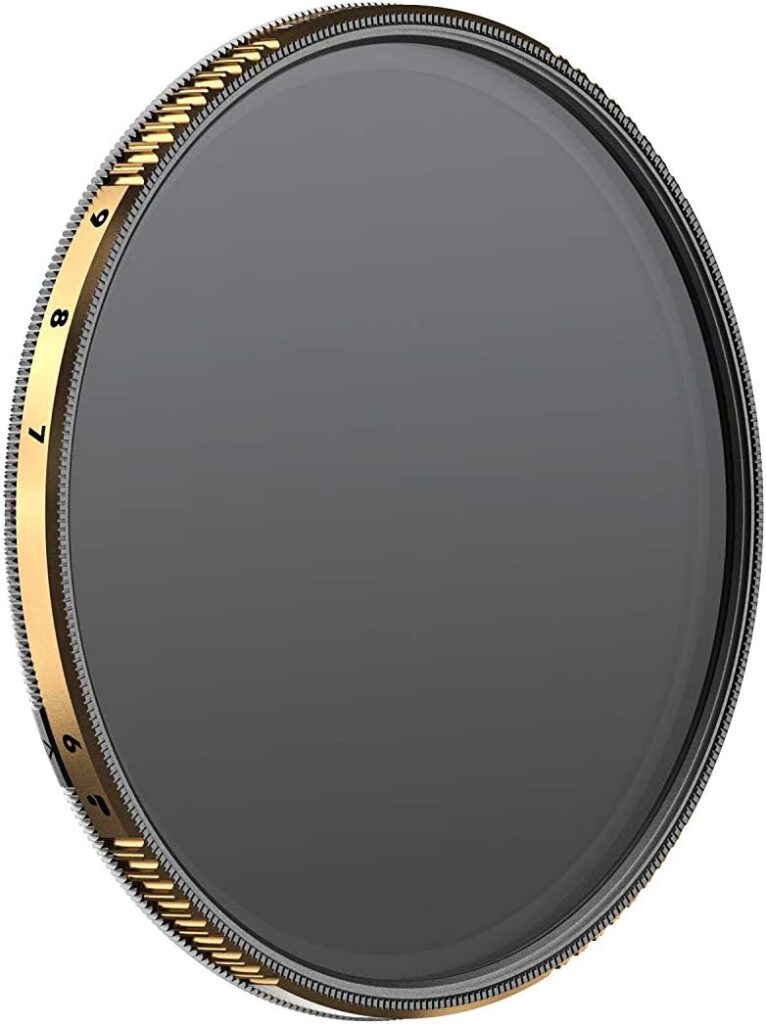
Variable ND filters let you rotate through a stop range with one filter. Light changing as the sun breaks through cloud? Dial it in without touching your bag. The trade-off: lower-tier variable NDs can produce an X-pattern cross-polarisation shadow at maximum stop, and colour rendering can shift — especially near the upper end of the range. Even premium options like the PolarPro PMVND aren’t fully immune: one independent review noted an occasional warm hue appearing near 4–5 stops, likely triggered by certain light directions. It’s correctable in white balance or post, but worth knowing.
My personal approach: I travel with a single quality variable ND. When I’m at a fixed, controlled studio shoot I’ll use fixed. For everything else — travel in Bavaria, runs across the Alps, real-estate timelapses on a tight schedule — variable wins on flexibility every time.
Fixed ND vs Variable ND: Which Should You Buy?
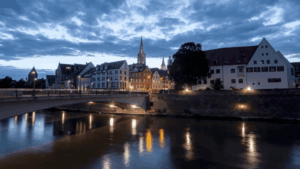
A timelapse session across golden hour means the light can shift 5–6 stops in 45 minutes. With a fixed filter, you’re either underexposed or overexposed for half that window. With a variable ND, you chase the light.
Variable ND: Best for Seconds, Not Minutes
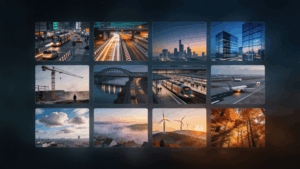
Variable NDs shine in the moderate exposure range — think 1/4s to 2s shutters, which covers 90% of timelapse situations. For ultra-long exposures where you’re pushing to 30 seconds, 1 minute, or more (slow-moving fog, star trails, extended cloud formations), a fixed 10-stop filter is more reliable. It introduces no colour shift at long exposures, and there’s no risk of the elements shifting between frames. Use the variable ND for your working exposures; reach for a fixed ND1000 when you’re truly counting minutes.
⚠️ Warning: Cheap variable NDs have no hard stops — you can rotate them into the X-pattern zone without realising it. The PolarPro PMVND Edition II solves this with a physical hard-stop mechanism. That said, even quality VNDs can introduce a subtle warm cast near their maximum stop. Always shoot custom white balance or correct in post if you’re near the top of your filter’s range.
The Best ND Filters for Timelapse — Specific Picks
Here are the two filters I recommend based on actual fieldwork. Both are from PolarPro — a brand that holds up in real shooting conditions, not just in review videos.
For most timelapse shooting — golden hour, clouds, urban motion:
For everyday timelapse work in mixed and changing light, I recommend the PolarPro Vario VND 82mm 2–5 Stop Edition II — Peter McKinnon. It covers the 3–6 stop sweet spot, produces no noticeable colour shift, and the Peter McKinnon collab edition has improved the multi-coating over previous generations. This is the filter that lives on my main lens.
Best For:
Hobbyists and timelapse creators who want one filter that handles sunrise, overcast, and mild afternoon light without swapping. Price range: approx. €120–€160
For bright midday sun and dramatic long exposures:
For deep summer conditions — shooting the Dolomites at 2pm or forcing 1-second exposures in direct sun — I recommend the PolarPro Vario VND 82mm 6–9 Stop Mist Edition II. The built-in mist effect softens harsh highlights and gives a subtle cinematic glow that works beautifully in timelapse. Not for every shot — but for golden-hour real estate and dramatic cloudscapes, it’s exceptional.
Best For:
Creators shooting in direct midday sun, or anyone who wants a touch of cinematic diffusion baked in. Price range: approx. €150–€180
What Size Filter Do You Need?
Most full-frame and APS-C lenses run 77mm or 82mm filter threads. Always buy for your largest lens and use step-up rings for smaller ones. Buying 58mm filters because your kit lens is 58mm is a trap — you’ll be buying again in a year.
How to Apply the 180-Degree Shutter Rule With Your ND Filter
This is the workflow. Follow these steps exactly.
Start with 3 seconds for fast-moving clouds, 5–10 seconds for slower scenes. Use the Timelapse Interval Calculator if you're unsure.
2. Calculate your target shutter speed
Shutter = interval ÷ 2. 3s interval = 1/2s shutter. 5s interval = 1/3s–1/2s shutter.
3. Set ISO to base (100–200) and aperture to f/8
This is your starting exposure.
and rotate until the histogram shows a correct exposure at your target shutter speed.
5. Lock everything in Manual mode
Autofocus off, auto-ISO off, auto-exposure off.
6. Trigger with an intervalometer
Never use in-camera timer for long sessions; it drains battery and limits control.
For a detailed breakdown of every timelapse setting before you even touch a filter, the Ultimate Timelapse Photography & Videography Guide walks through the full system.
💡 Pro Tip: Always check for flicker by shooting 20–30 test frames before committing to a full sequence. Flicker is almost always caused by an aperture that’s hunting. Lock it with “Aperture Lock” tape or shoot at f/8 — the sweet spot where most lenses behave consistently.
Common ND Filter Mistakes in Timelapse (And How to Avoid Them)
I see these errors constantly in footage sent to us for review:
- Using too strong a filter in low light. An ND1000 at dusk will force you to ISO 3200 or an impossibly slow shutter. Match your filter strength to the light.
- Using a cheap variable ND at maximum stop. That X-pattern artefact in the centre of your frame cannot be fixed in post. Stay 1–2 stops back from the maximum of any variable ND.
- Forgetting to recalibrate after light shifts. A 45-minute cloud timelapse can see 3 stops of light change. Check your histogram at least every 10 minutes.
- Stacking ND filters without accounting for vignetting. Two filters on a wide lens = black corners. Use one quality variable instead.
For a full breakdown of the most damaging beginner habits, read 7 Timelapse Mistakes Beginners Make — several of them are filter-related.
Read Next on Aero Timelapse
- The Ultimate Timelapse Photography & Videography Guide — the complete system from settings to post
- Timelapse Interval Guide — choose the right interval for every subject
- 7 Timelapse Mistakes Beginners Make — avoid the errors that ruin sequences
- ND Filter Calculator — find your exact ND strength in seconds
- Timelapse Interval Calculator — dial in your interval before you shoot
Frequently Asked Questions
What is the best ND filter strength for timelapse photography?
For most timelapse situations, a 3–6 stop ND filter (ND8 to ND64) is the most useful range. It allows you to apply the 180-degree shutter rule in bright overcast and early morning light. For direct midday sun, step up to a 6–10 stop filter. A variable ND covering both ranges gives you maximum flexibility in a single filter.
Should I use a fixed or variable ND filter for timelapse?
Both work, but a quality variable ND filter is the better choice for most timelapse shooters. It lets you adapt to changing light conditions — sunrise, golden hour, cloud breaks — without swapping filters. Fixed NDs offer slightly better optical quality but require carrying multiple filters and slow you down on location. Invest in a reputable brand like PolarPro to avoid colour cast and cross-polarisation artefacts.
What ND filter do I need for a 5-second timelapse interval?
With a 5-second interval, your target shutter speed under the 180-degree rule is approximately 1/2s–1/3s. In bright daylight at ISO 100 and f/8, you’ll typically need an ND64 (6 stops) to reach that exposure. In overcast light, an ND8 or ND16 (3–4 stops) may be sufficient. Use the ND Filter Calculator to find the precise strength for your conditions.
Is the PolarPro Vario VND worth it for timelapse?
Yes — the PolarPro Vario VND is one of the few variable ND filters that delivers clean colour rendering across its full stop range without the cross-polarisation artefact that ruins cheaper options. The PolarPro Vario VND 2–5 Stop Edition II is particularly well-suited to timelapse because it covers the most common shooting conditions at a size that fits most full-frame lens kits. For midday or high-contrast shooting, the 6–9 Stop Mist Edition II adds a bonus cinematic quality.
Can I shoot timelapse without an ND filter?
You can, but results will look choppy and mechanical. Without an ND filter, daylight forces a shutter speed of 1/500s or faster, which eliminates the motion blur between frames that makes clouds, water, and traffic flow naturally. ND filters are essential for applying the 180-degree shutter rule — they are not optional gear, they are core to the timelapse look.
What filter thread size should I buy for timelapse?
Buy for the largest lens in your kit — usually 77mm or 82mm for full-frame systems — and use step-up rings for smaller lenses. Buying smaller filters to match your current kit lens means you’ll outgrow them quickly. An 82mm variable ND with a 77mm step-up ring gives you one filter that fits everything.
How do I avoid flicker when using an ND filter for timelapse?
Flicker in timelapse is almost always caused by aperture micro-variation between frames, not by the ND filter itself. Shoot in full Manual mode, lock your aperture (avoid f-numbers that require the diaphragm to move), and use the middle stop of your variable ND rather than the maximum end. If flicker does appear, it can be corrected in LR Timelapse using the deflicker algorithm — the most effective post-production solution available.
Conclusion
Put an ND filter on your lens, apply the 180-degree shutter rule, and your timelapse will immediately look more cinematic — it’s one of the highest-leverage changes you can make. Start with the PolarPro Vario VND 2–5 Stop for a single filter that handles most situations, and check your exposure with the free ND Filter Calculator before every shoot. Do that once, and you’ll never shoot a choppy timelapse again. The motion was always there — you just needed to let the light in at the right speed.
Dipon is a drone and timelapse cinematographer based in Ulm, Germany, with over 15 years of experience turning real spaces and projects into cinematic visuals. With a background in digital marketing, every shot is planned with a clear purpose — where it will appear, who will see it, and what it should help them decide.
You May Also Like
Best Drones Under 300 Euro 2026: Entry-Level Options That Actually Deliver
Stock Footage Metadata for Timelapse Contributors: How to Title, Tag & Describe Your Clips
Timelapse Interval Guide : Pick the Right Interval Fast
Best Stock Platforms for Timelapse: Pond5 vs Shutterstock (2026 Guide)
What Timelapse Sells: Best Timelapse Subjects for Stock Footage
Best Drones for Beginners (2026): Safe, Easy Picks + Buying Guide
Timelapse Stock Footage Earnings: $3K/Month Case Study
Best Drones Under 500 Euro (2026) – Top 6 Budget Camera Drones
Make money selling timelapse stock footage
Best Drones for Real Estate Photography
7 Timelapse Mistakes Beginners Make
DJI Mini 5 Pro Review (2026): The Ultimate Travel Drone?
Need help capturing professional timelapse for your next project but not ready to invest in the gear yet? Check out our Timelapse Video Production service to see how Aero Timelapse Studio can help elevate your production.